This past Tuesday marked two months of living in Indiana. There are still incredibly disorienting mornings where I wake up expecting to hear the sound of the bugle coming from the army base next to our old apartment. I imagine opening the window and hearing the calm of the Gunpowder River right before I start to make some coffee. Conversely, there are days where it feels like I’ve been in Indianapolis since the dawn of time. This illusion becomes shattered, though, when I try to go grocery shopping and cannot find simple ingredients to save my life – what even is a Kroger? They never have brussel sprouts.
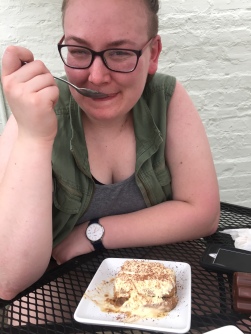
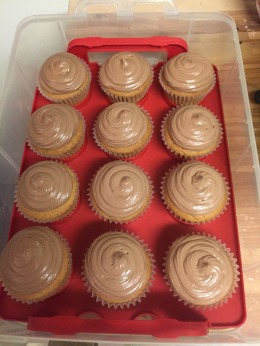
I have come up with one simple philosophy to both help me adjust to a new city and get through the next few years of school: celebrate the little things. I have always been more of a big-picture sort of gal – rarely stopping to appreciate any small steps that I was taking towards a goal. Today’s little cakes are an intentional pause taken to acknowledge a productive week. Further, what I love about baking is that creating the treat is therapeutic in it’s own right, but then you can also invite others to enjoy it and quickly pause with you. That’s the real delicious attempt at building a community that I am here to advocate for.
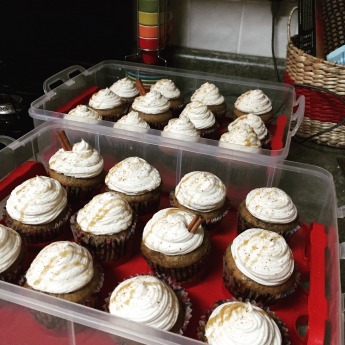
Pumpkin Spice Latte Cupcakes with Cream Cheese Frosting
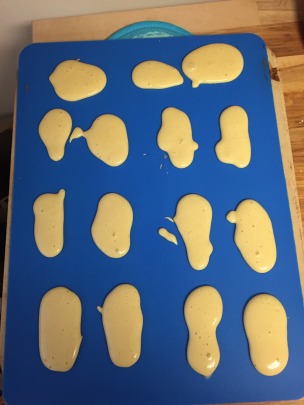
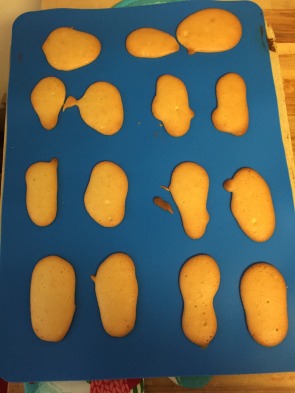
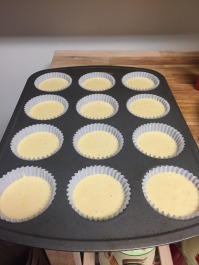
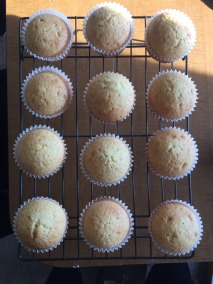
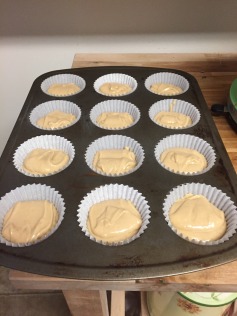
Recipe makes 12 cupcakes – note, photos shown are of a double batch
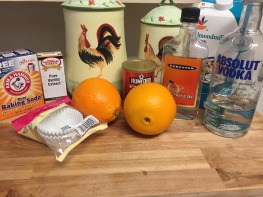
PSL Cupcake Ingredients
- 1 3/4 cup flour
- 1 1/4 cup sugar
- 1 tablespoon baking powder
- 1/4 teaspoon salt
- 1 cup pumpkin* – not pumpkin pie filling!
- 1 teaspoon cinnamon
- 1/2 teaspoon nutmeg
- 1/2 teaspoon ginger
- 1/4 teaspoon allspice
- 1/8 teaspoon cloves
- 1/2 cup almond milk (or your favorite milk)
- 1/2 cup canola oil
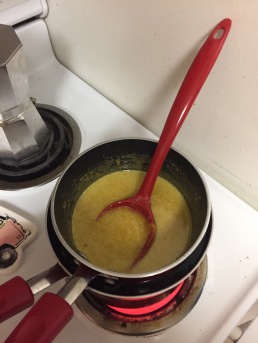
- 4 1/2 teaspoons espresso powder
- brewed coffee or espresso for brushing over the cupcakes once baked (~ 1 cup)
PSL Cupcake Directions
- Preheat oven to 350°F
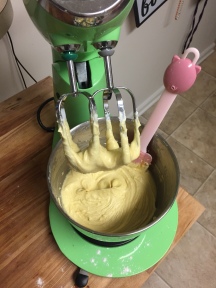
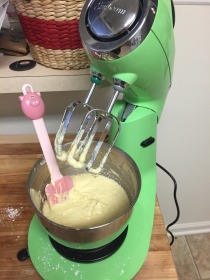
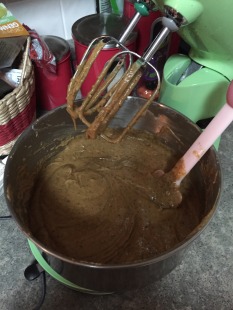
- Combine flour, sugar, baking powder, and salt into a large mixing bowl
- In a separate bowl, add spices to pumpkin and mix
- I know what you’re thinking – too many spices! What’s the shortcut here? If you don’t have these on hand and don’t feel it necessary to purchase 5 different things, just throw 3 teaspoons of pumpkin pie spice in. I won’t tell.
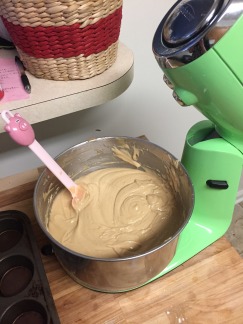
- In the spicy pumpkin bowl, mix in milk, oil, and espresso powder
- Slowly combine wet ingredients into dry ingredients and mix until you form a smooth batter
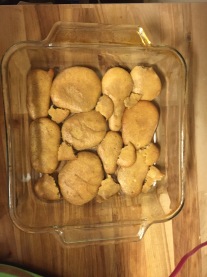
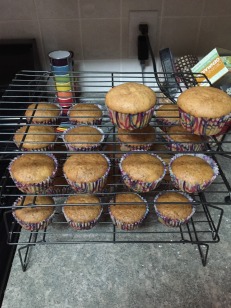
- Bake for 20-22 minutes or until the cupcakes pass the toothpick test
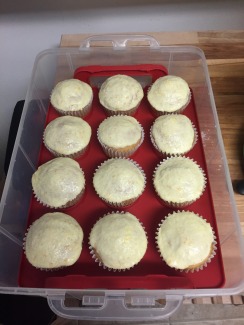
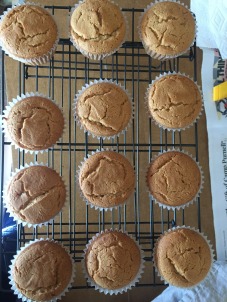
- Once cakes are baked and cool, brush each with coffee or espresso before frosting
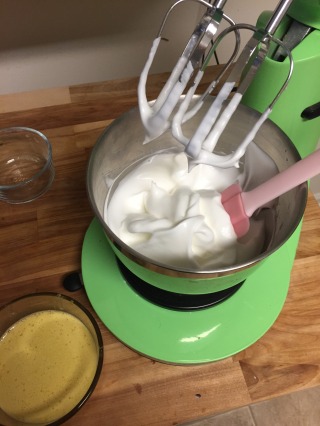
Cream Cheese Frosting + Decoration
Will frost 12 cupcakes
Frosting Ingredients
- 8 tablespoons (one stick) butter, softened
- 4 oz (half package) cream cheese, softened
- 2 cups powdered sugar
- 1 tablespoon vanilla extract
- a few splashes of almond milk for consistency
Decoration
- Cinnamon sticks
- Caramel sauce
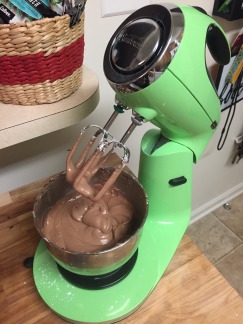
Frosting Directions
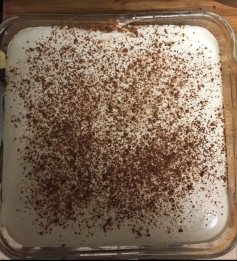
- Mix together butter and cream cheese
- Slowly mix in powdered sugar, adding a few splashes of milk as needed to obtain the desired consistency of your frosting
- Mix in vanilla
- Frost cupcakes
- Using a micro-planer or fine cheese grater, add fresh cinnamon from the cinnamon sticks to the tops of the cupcakes. Use leftover sticks as decorations for the cupcakes
- Finish decorating with a light drizzle of caramel sauce
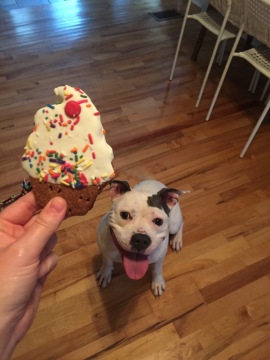
*I always find that I have an awkward amount of pumpkin leftover. Not enough to really bake anything else with, but too much to feel justified in just getting rid of it. In a past life, I used to mix it up with some milk and spices and freeze it in ice cube trays and then blend with some iced coffee for a vegan version of a frozen PSL. In a more recent life, I just feed it to my dog. So, you know, if you were looking for some ideas.